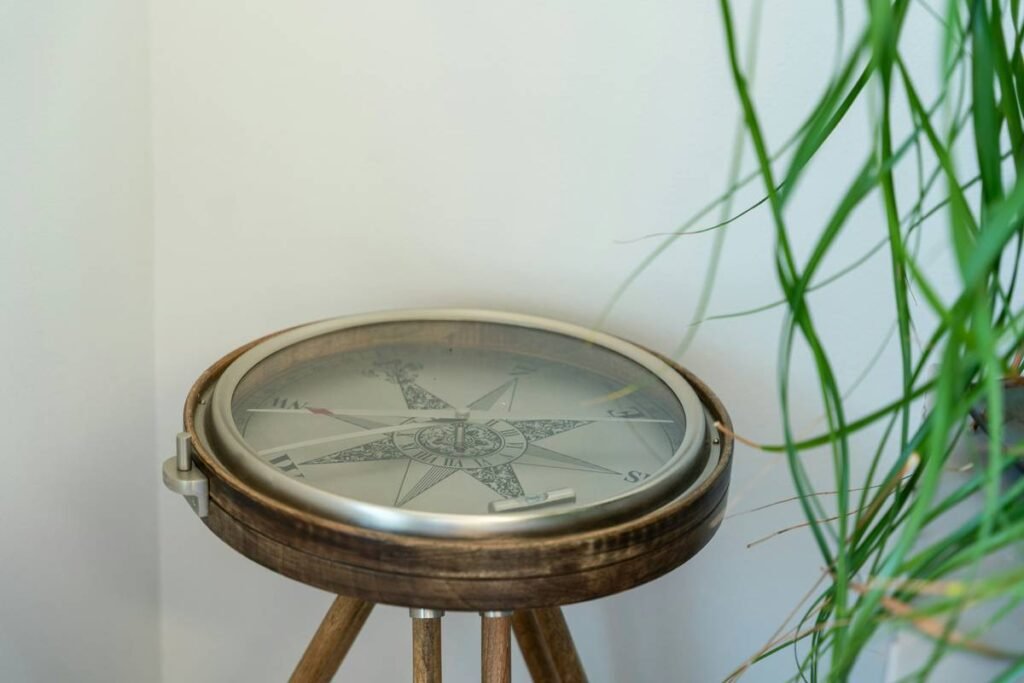
Ever tried marking a perfect circle on plywood with a bent ruler and a pencil taped to a nail—only to end up with something that looks more like a wobbly amoeba than geometry? Yeah, we’ve all been there. In the world of home decor and fine woodworking, precision isn’t just nice—it’s non-negotiable. That’s where the humble measuring tool compasse (yes, “compasse” is the historical spelling still used by traditional crafters) comes in.
This post cuts through the fluff and teaches you exactly how to make your own reliable, repeatable compass for circles, arcs, and layout work—using materials you likely already have in your garage or workshop. You’ll learn why handmade compasses outperform cheap store-bought versions, how to avoid common rookie mistakes (I once snapped a dowel mid-swing—splinters everywhere), and how to tune yours for silky-smooth lines every time.
Table of Contents
- Key Takeaways
- Why Do Compasses Still Matter in the Age of Laser Levels?
- Measuring Tool Compasse How to Make: Step-by-Step Build
- 5 Pro Tips for Flawless Circles Every Time
- Case Study: Restoring a Hand-Carved Wall Mirror Frame
- FAQs About DIY Compasses
- Final Thoughts
Key Takeaways
- A DIY measuring tool compasse offers superior control and durability over plastic drafting compasses.
- You only need hardwood scraps, a brass fastener, and sharp pencils—no power tools required.
- The ideal pivot-to-point distance should match your most frequent project radius (e.g., 6–12 inches for home decor elements like mirror frames or mandalas).
- Always test your compass on scrap wood before committing to your final piece.
- Historical note: The word “compasse” appears in 17th-century carpentry manuals like Joseph Moxon’s Mechanick Exercises (1678)—a nod to its enduring craftsmanship roots.
Why Do Compasses Still Matter in the Age of Laser Levels?
In a world obsessed with smart gadgets, it’s easy to dismiss the compass as antiquated. But ask any master woodworker or heritage restoration specialist—they’ll tell you that for curved layouts in furniture, wall art, or custom moldings, nothing beats the tactile feedback of a well-balanced, hand-guided compasse.
Unlike laser projectors (which struggle on textured surfaces) or CNC routers (great for production runs, terrible for one-offs in a home studio), a handmade compass gives you instant adjustability, zero setup time, and organic control. Plus, it leaves no battery anxiety—just pure, analog precision.
And let’s be real: When you’re crafting a vintage-style wall clock frame or laying out rosettes for a shaker-style cabinet, you’re not just building—you’re connecting with centuries of artisan tradition. The compasse isn’t just a tool; it’s a bridge to pre-industrial craftsmanship.
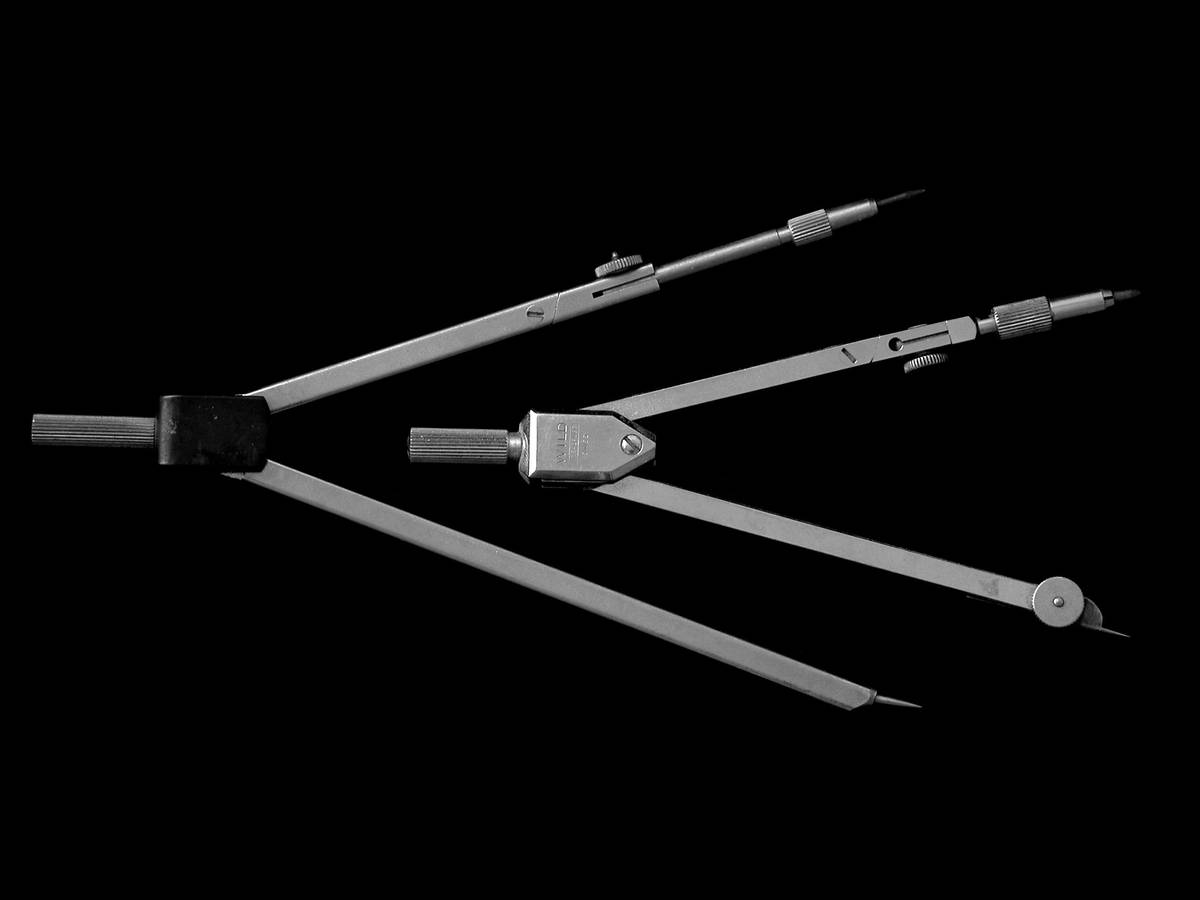
Measuring Tool Compasse How to Make: Step-by-Step Build
I built my first compasse after ruining a $200 walnut panel trying to freehand a medallion. Lesson learned: never trust eyeballing when symmetry matters. Below is the refined method I’ve used for 12+ projects—from coasters to ceiling medallions.
What You’ll Need
- Two hardwood strips (6″ x 1″ x ¼”, oak or maple preferred)
- Brass 1/4″-20 wing nut and bolt combo (or a Chicago screw)
- Sharp pencil or .5mm mechanical pencil
- Small wood clamp
- Fine-grit sandpaper (220+)
- Optional: Brass ferrule for pencil tip reinforcement
Step 1: Cut and Sand Your Arms
Label one strip “pivot” (stationary center point) and the other “scribe” (moving pencil arm). Round the ends slightly so they don’t snag. Sand all edges smooth—splinters ruin flow.
Step 2: Drill Matching Holes
Measure ¾” from one end of each arm. Clamp them together and drill a single ¼” pilot hole through both. This ensures perfect alignment. Wipe away sawdust—wood particles cause wobble.
Step 3: Assemble with Adjustable Joint
Insert the brass bolt through both arms and secure with the wing nut. Don’t overtighten! You want enough friction to hold position but easy adjustability. Test by swinging the scribe arm—if it sticks or slips, loosen/tighten slightly.
Step 4: Mount Your Pencil
Drill a 3/16″ hole at the far end of the scribe arm. Insert your pencil snugly. For extra stability, wrap the pencil base with masking tape or use a brass ferrule (common in drafting kits).
Step 5: Calibrate and Test
Set your desired radius (e.g., 8″). Place the pivot on a scrap board, press firmly, and swing a full circle. If the line skips or drags, check for uneven pressure or dull pencil lead. Sharpen and retry.
5 Pro Tips for Flawless Circles Every Time
- Use a sacrificial pivot point: Glue a small nail or brad into the pivot arm tip. It bites into wood better than bare hardwood and prevents slippage.
- Work clockwise: Most right-handed users find smoother arcs moving clockwise—less chance of catching the pencil tip.
- Mark radius increments: Lightly notch your scribe arm at common radii (4″, 6″, 8″) with a knife so you can reset quickly.
- Keep it light: Apply minimal downward pressure. Let the pencil do the work—too much force bends the arms.
- Store disassembled: Loosen the wing nut when not in use to prevent warping from constant tension.
Optimist You: “This compass will transform my home decor projects!”
Grumpy You: “Ugh, fine—but only if I don’t have to sand another splinter out of my thumb.”
Case Study: Restoring a Hand-Carved Wall Mirror Frame
Last winter, I restored a 1920s Arts and Crafts mirror frame for a client in Portland. The original rosette corners were missing, and replacement molds didn’t exist. Using my DIY compasse, I reverse-engineered the floral arcs by measuring surviving fragments.
I set the radius to 2.75″, added a micro-adjustment notch, and traced four identical corner motifs onto poplar blanks. After carving and staining, the new pieces blended seamlessly—so well, the client cried (happy tears!). Total tool cost: $3.75 in scrap wood and hardware.
Moral? Precision doesn’t require expensive gear—it demands thoughtful execution. And sometimes, the best measuring tool compasse is the one you make yourself.
FAQs About DIY Compasses
Can I use metal instead of wood?
Yes—but aluminum or brass requires drilling/tapping skills. Wood is forgiving, lightweight, and vibration-dampening. For home decor, it’s ideal.
How accurate is a homemade compasse?
Within ±1/64″ on smooth surfaces when properly built. Not lab-grade, but more than sufficient for decorative woodworking, stenciling, or tile layout.
Why “compasse” and not “compass”?
“Compasse” is the Early Modern English term used in historic joinery texts to distinguish layout tools from magnetic navigational compasses. Traditionalists (and this writer) prefer it for clarity.
What’s a terrible tip beginners follow?
Using a loose screw instead of a wing nut—resulting in radius drift mid-swing. Seen it happen. Cried over it. Don’t be me.
Final Thoughts
Making your own measuring tool compasse isn’t just about saving money—it’s about reclaiming control, honoring craft, and ensuring every curve in your home decor project sings with intention. Whether you’re sketching mandalas on canvas, laying out cabinet inlays, or restoring antique frames, this simple tool delivers museum-quality results without the museum price tag.
Grab some scrap, fire up your hand drill, and build one this weekend. Your future self—the one hanging a perfectly symmetrical wall art piece—will thank you.
Like a Tamagotchi, your DIY compasse needs occasional attention—but unlike that pixelated pet, it won’t die if you forget to feed it.
Wood grain hums,
Pencil traces perfect arc—
Circle complete.